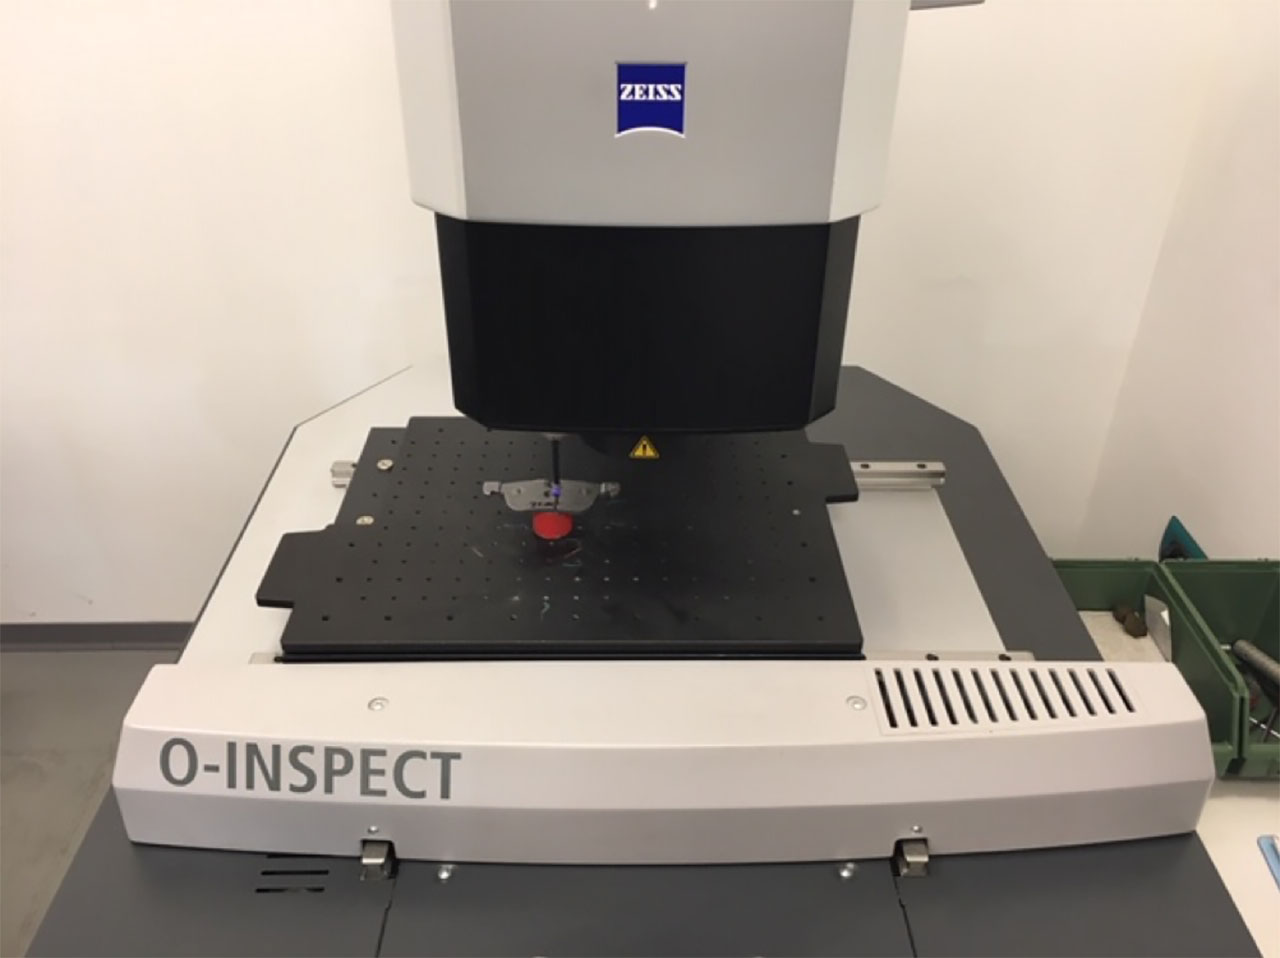
Innovation continues in STA 2000 with the O-INSPECT

To keep up with the times today, it is necessary to “run” behind the change. Industrial evolution requires speed of execution, innovation, speed of response and product delivery in less time. In other words, ZEISS O-INSPECT.
Multisensor measuring machinery and the latest generation, allows you to optimally measure each characteristic of the piece under examination, both optically and by contact.
The primary feature of O-INSPECT is to offer reliable 3D accuracy and compliant with ISO standards in a temperature range between 18° and 30°. The CALYPSO software, in addition, allows you to easily obtain the results and simplifies the detection and identification of errors.
The main features can also be listed in:
• Telecentric zoom Discovery
• Adaptive lighting system
• Measuring rack
• Calibration sphere
• Continuous scan measurement
• Rotating table
• Loading system with glass and reticulated pallets
• Calibration platform
• CALYPSO software
The first big advantage of O-INSPECT is that compared to standard lenses, it provides a 4 times greater field of view and an excellent image definition even in peripheral areas. Result and benefit? Shorter measurement time (therefore higher speed) and excellent accuracy.
The other big advantage is the scanning with measuring forces in millinewtons, in areas where other multisensor machines only allow single-point measurements with relatively high measuring forces. And also in this case, another great benefit is obtained: being able to measure real 3D of pieces with thin walls.
In addition to being quick and precise, the ZEISS machine allows you to simultaneously view the actual status, profile and deviations making it very easy to identify and interpret the measurement results.
We are constantly looking for the best solutions and quality to satisfy every type of requirement and request of our customers.


